Adhoc Views
This screen allows you to create your own Adhoc View.
Prerequisite
Rules and Guidelines
- Once selected, a screen with possible Data Sources is displayed. This Data Source corresponds to the client's database name.

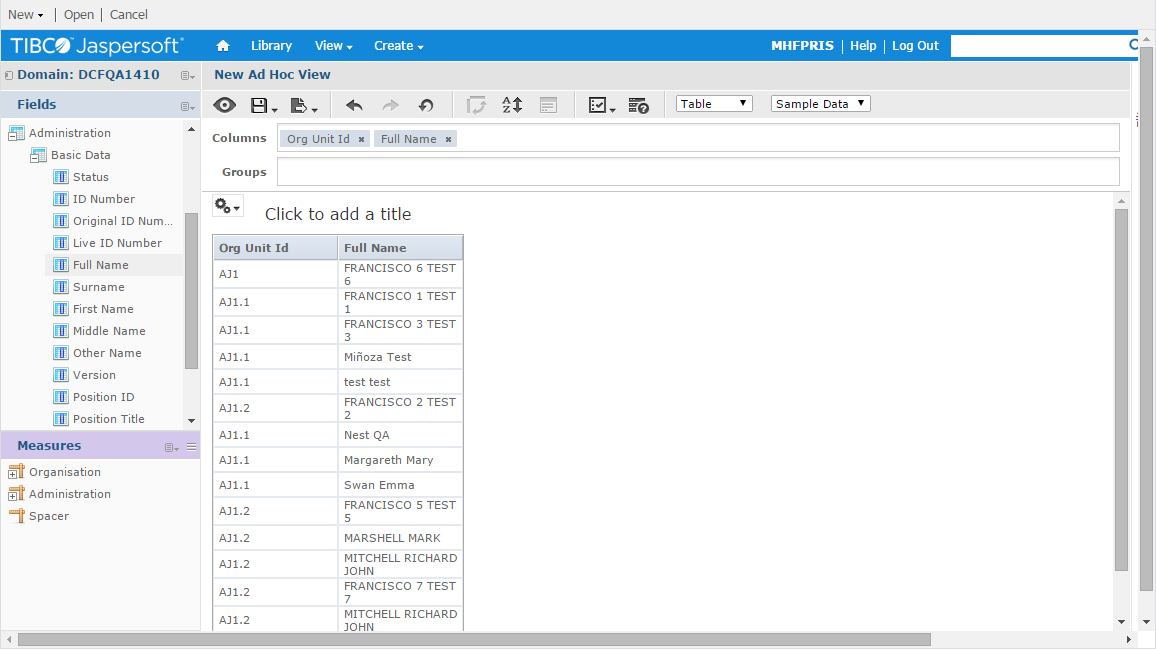
- Once the Source has been selected, you may select the fields where the data would be coming from.

- Once the required fields have been chosen, you may click OK to move on to the Adhoc View Editor.
- Create your Adhoc View by dragging and dropping selected fields to the Columns and/or Groups. You may define how your Adhoc View is to be presented, whether by Table, Crosstab or Chart.
- The settings are defaulted to use only a group of 'Sample Data'. You may choose to work with 'Full Data' by changing the settings of the Analytics Toolbar.
- You may also choose what kind of data is to be presented, whether in detail, just the total or both the details and total of the data via this icon
 .
. - Once the definitions is completed, you may save as an Adhoc View only or generate the corresponding View and store the Adhoc definition as well. You may also save your Adhoc View and create a report.
- Various formats are allowed to be exported through Export icon
 on the Toolbar. You may export files as PDF, Excel, CSV, DOCX, RTF, ODT, ODS, XLXS or PPTX via the Adhoc View Toolbar.

